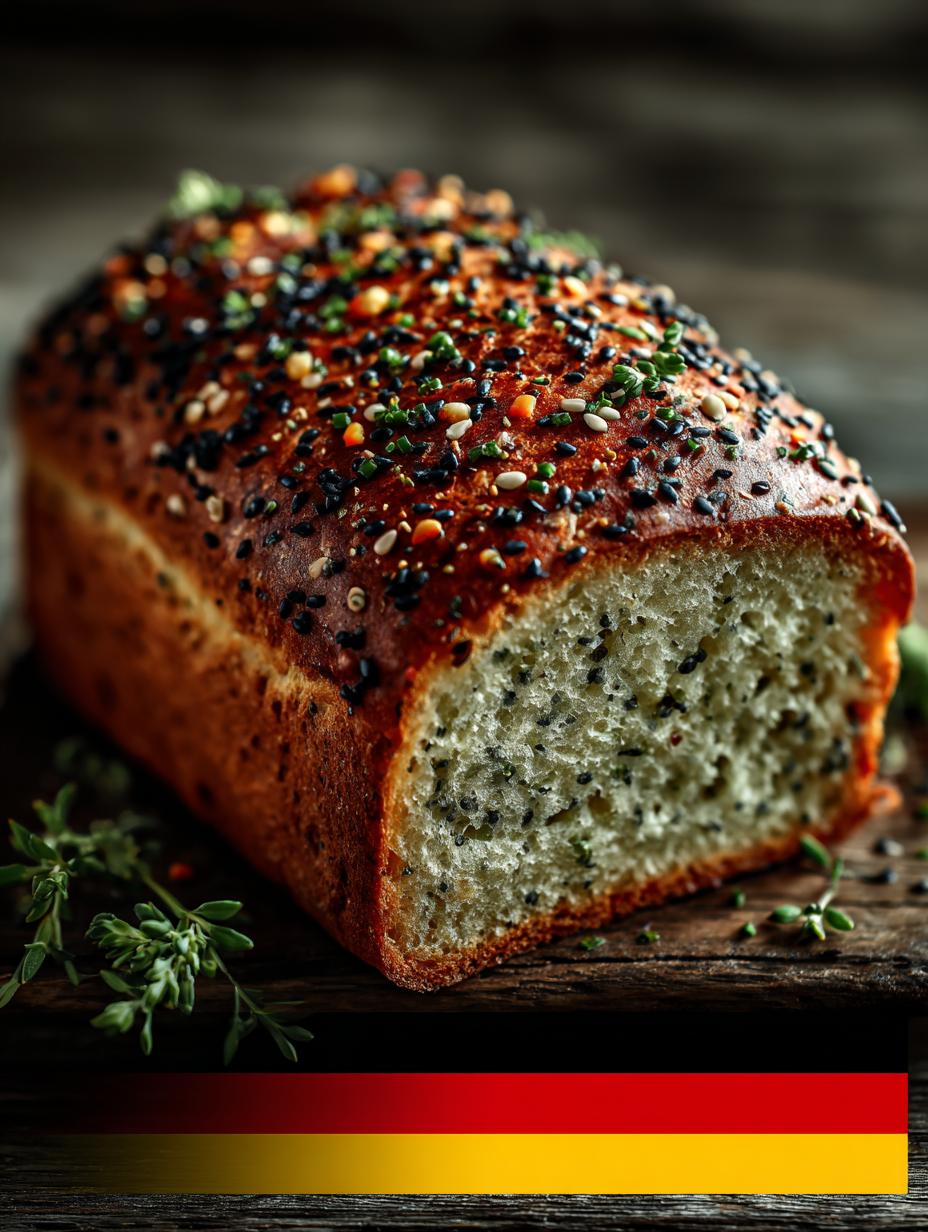
Quinoa Bread is not just a trendy option; it’s a wholesome, gluten-free delight that has transformed my baking routine. This recipe is easy to follow and requires no yeast, oil, or sugar, making it a perfect choice for health-conscious individuals. It’s flavorful and nutrient-dense, ideal for toasting or making delicious sandwiches. Let’s dive into the world of quinoa and discover how to make this fantastic loaf!
Why You’ll Love This Quinoa Bread
This quinoa bread recipe offers numerous benefits that will make you want to include it in your diet. Here are some reasons to love it:
- Nutrient-Rich: Quinoa is packed with essential nutrients, making this bread a healthy addition to your meals.
- Gluten-Free: Ideal for those with gluten sensitivities or celiac disease, this gluten-free quinoa bread is safe to enjoy.
- High in Protein: With a good protein content, it helps to keep you satiated, making it a great option for breakfast.
- Versatile: Use it as a base for sandwiches or enjoy it toasted with your favorite toppings.
- Simple Ingredients: Made with easy-to-find ingredients, this easy quinoa bread recipe is accessible for everyone.
- Customizable: You can add seeds or herbs for extra flavor and nutrition, which is one of the many homemade quinoa bread ideas.
Plus, this recipe aligns with a gluten-free diet, making it a guilt-free indulgence.
Ingredients for Quinoa Bread
Gather these items:
- 170 g dry quinoa (soaked, rinsed, drained)
- 180 g gluten-free flour (see notes)
- 30 g psyllium husk powder
- 1 tsp salt
- 1 tsp baking powder
- ½ tsp baking soda
- 240 ml warm water
- 15 ml apple cider vinegar
- 50 g seeds (20 g flax, 20 g sunflower, 10 g chia)
How to Make Quinoa Bread Step-by-Step
- Step 1: Soak the dry quinoa in plenty of water for at least 2–3 hours or overnight. Then rinse it thoroughly and drain well.
- Step 2: Preheat your oven to 180 °C (356 °F) and line a baking sheet with parchment paper.
- Step 3: Add the soaked and drained quinoa to a blender along with the warm water (100-110°F/38-43 °C) and blend until smooth.
- Step 4: In a large bowl, whisk together the gluten-free flour, psyllium husk powder, salt, baking powder, and baking soda.
- Step 5: Pour the quinoa mixture into the dry ingredients, add the apple cider vinegar, and stir well. The dough will thicken quickly due to the psyllium husk.
- Step 6: Add the seeds and mix until everything is well combined.
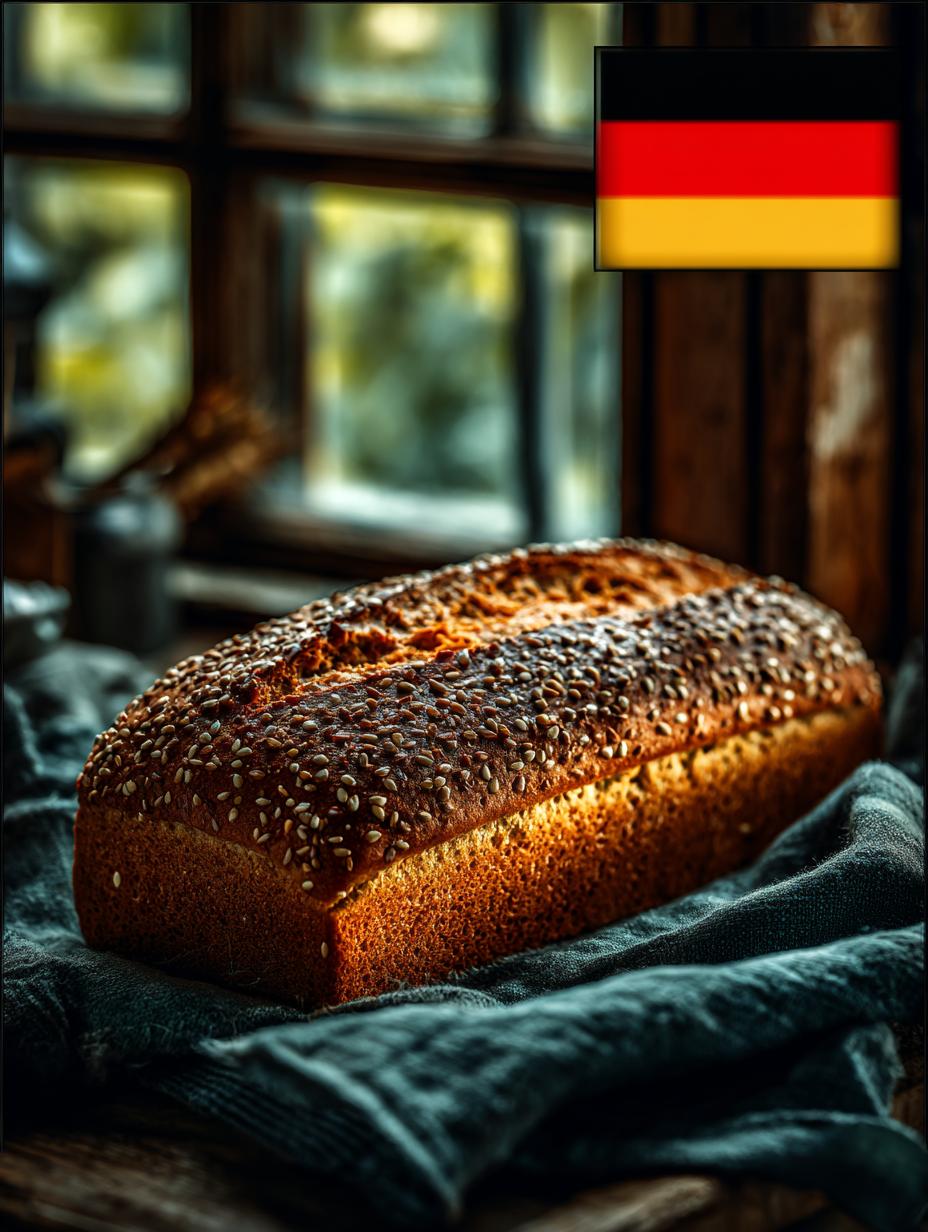
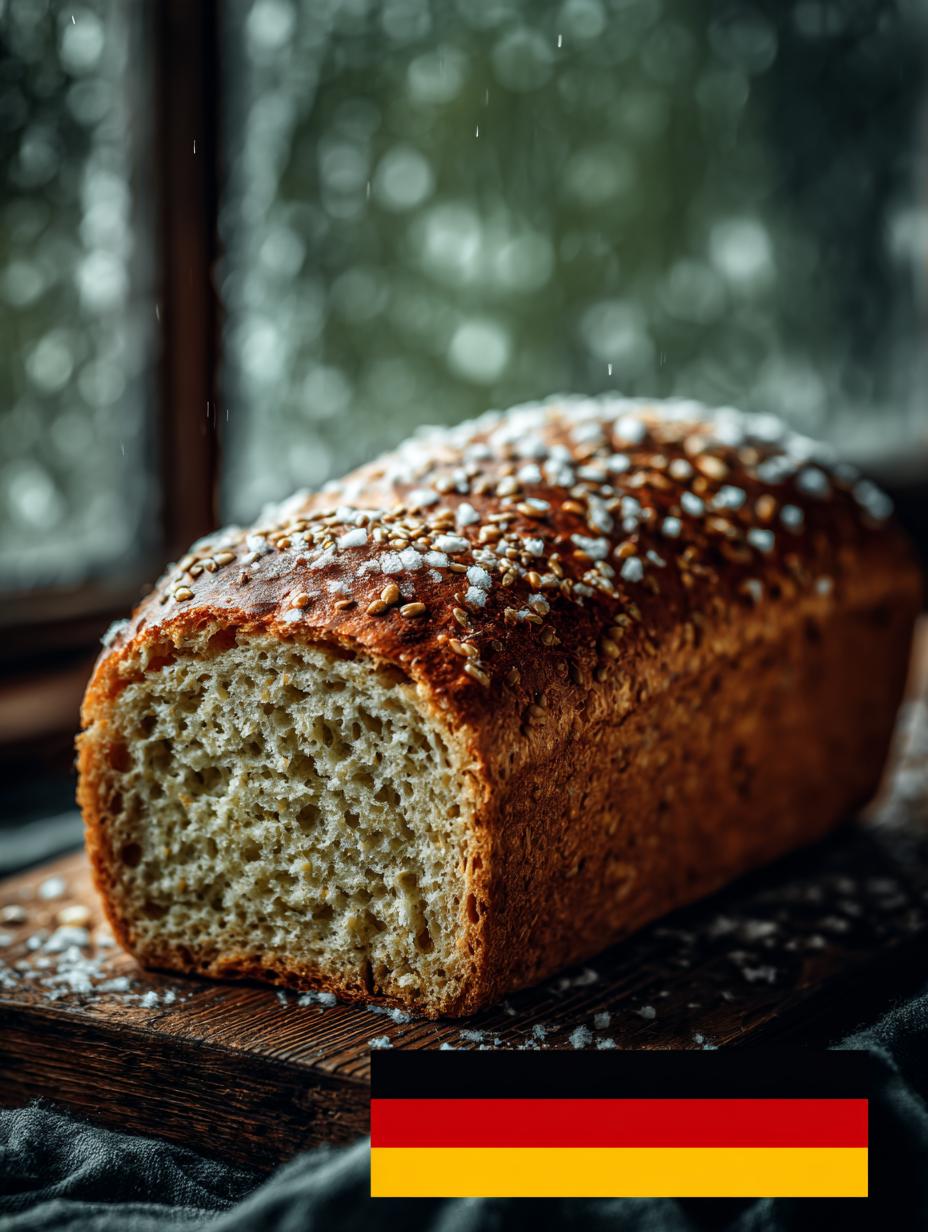
- Step 7: Place the dough onto the lined baking sheet and shape it into a rustic loaf with damp hands. Optionally sprinkle more seeds on top.
- Step 8: Bake for about 50 minutes, or until the crust is firm and a toothpick inserted into the center comes out clean.
- Step 9: Let the bread cool completely on a wire rack before slicing.
Pro Tips for the Perfect Quinoa Bread
Keep these in mind:
- This bread is gluten-free, making it suitable for various diets.
- Adjust seeds according to preference for different flavors and textures.
- Ensure the quinoa is well-soaked and rinsed to remove bitterness.
- For a more robust flavor, consider adding herbs or spices to the dough.
Best Ways to Serve Quinoa Bread
There are numerous ways to enjoy your delicious quinoa loaf. Here are a few serving ideas:
- Toast slices and top with avocado and a sprinkle of salt for a nutritious breakfast.
- Use it as a base for hearty sandwiches filled with your favorite fillings.
- Pair it with soups or salads for a wholesome meal.
How to Store and Reheat Quinoa Bread
To keep your quinoa bread fresh, store it in an airtight container at room temperature for up to three days. For longer storage, slice and freeze the loaf. To reheat, simply toast slices until warm. This makes it perfect for meal prep, fitting right into your busy schedule!
Frequently Asked Questions About Quinoa Bread
What’s the secret to perfect Quinoa Bread?
The secret lies in properly soaking and rinsing the quinoa to eliminate any bitterness. Additionally, allowing the dough to rest before baking helps achieve the best texture.
Can I make Quinoa Bread ahead of time?
Yes, you can prepare the dough ahead of time and bake it when needed. Alternatively, bake the bread and store it in the freezer for easy access later.
How do I avoid common mistakes with Quinoa Bread?
Ensure accurate measurements and pay attention to the soaking time for quinoa. Not rinsing it well can lead to an undesirable taste.
Variations of Quinoa Bread You Can Try
Feel free to get creative with your quinoa flour bread variations. Here are some ideas:
- Add herbs like rosemary or thyme for an aromatic loaf.
- Mix in nuts or dried fruits for a unique flavor profile.
- Experiment with different seeds, such as pumpkin or sesame, for added texture.
With these variations, you can customize your bread to suit any meal or occasion!
For more information about gluten-free diets, you can visit the Celiac Disease Foundation. If you’re interested in learning more about healthy eating, check out the Academy of Nutrition and Dietetics.
For further details about my journey with gluten-free baking, feel free to check my About Me page. You can also read my Privacy Policy for more information on how I handle data.
Lastly, if you have any questions or need assistance, don’t hesitate to Contact Us.
Print
Quinoa Bread: 7 Benefits of This Healthy Gluten-Free Loaf
- Total Time: 70 minutes
- Yield: 1 loaf 1x
- Diet: Gluten Free
Description
This quinoa bread recipe is easy to make with no yeast, oil, sugar, or gluten. It’s a flavorful, nutrient-dense gluten-free bread that’s perfect for toasting.
Ingredients
- 170 g dry quinoa (soaked, rinsed, drained)
- 180 g gluten-free flour (see notes)
- 30 g psyllium husk powder
- 1 tsp salt
- 1 tsp baking powder
- ½ tsp baking soda
- 240 ml warm water
- 15 ml apple cider vinegar
- 50 g seeds (20 g flax, 20 g sunflower, 10 g chia)
Instructions
- You can watch the video for visual instructions. Soak the dry quinoa in plenty of water for at least 2–3 hours or overnight. Then rinse it thoroughly and drain well.
- Preheat your oven to 180 °C (356 °F) and line a baking sheet with parchment paper.
- Add the soaked and drained quinoa to a blender along with the warm water (100-110°F/38-43 °C) and blend until smooth.
- In a large bowl, whisk together the gluten-free flour, psyllium husk powder, salt, baking powder, and baking soda.
- Pour the quinoa mixture into the dry ingredients, add the apple cider vinegar, and stir well. The dough will thicken quickly due to the psyllium husk.
- Add the seeds and mix until everything is well combined.
- Place the dough onto the lined baking sheet and shape it into a rustic loaf with damp hands. Optionally sprinkle more seeds on top.
- Bake for about 50 minutes, or until the crust is firm and a toothpick inserted into the center comes out clean.
- Let the bread cool completely on a wire rack before slicing.
Notes
- This bread is gluten-free.
- Adjust seeds according to preference.
- Prep Time: 20 minutes
- Cook Time: 50 minutes
- Category: Bread
- Method: Baking
- Cuisine: Gluten-Free
Nutrition
- Serving Size: 1 slice
- Calories: 125 kcal
- Sugar: 0 g
- Sodium: 200 mg
- Fat: 3 g
- Saturated Fat: 0.5 g
- Unsaturated Fat: 2.5 g
- Trans Fat: 0 g
- Carbohydrates: 23 g
- Fiber: 4 g
- Protein: 4 g
- Cholesterol: 0 mg