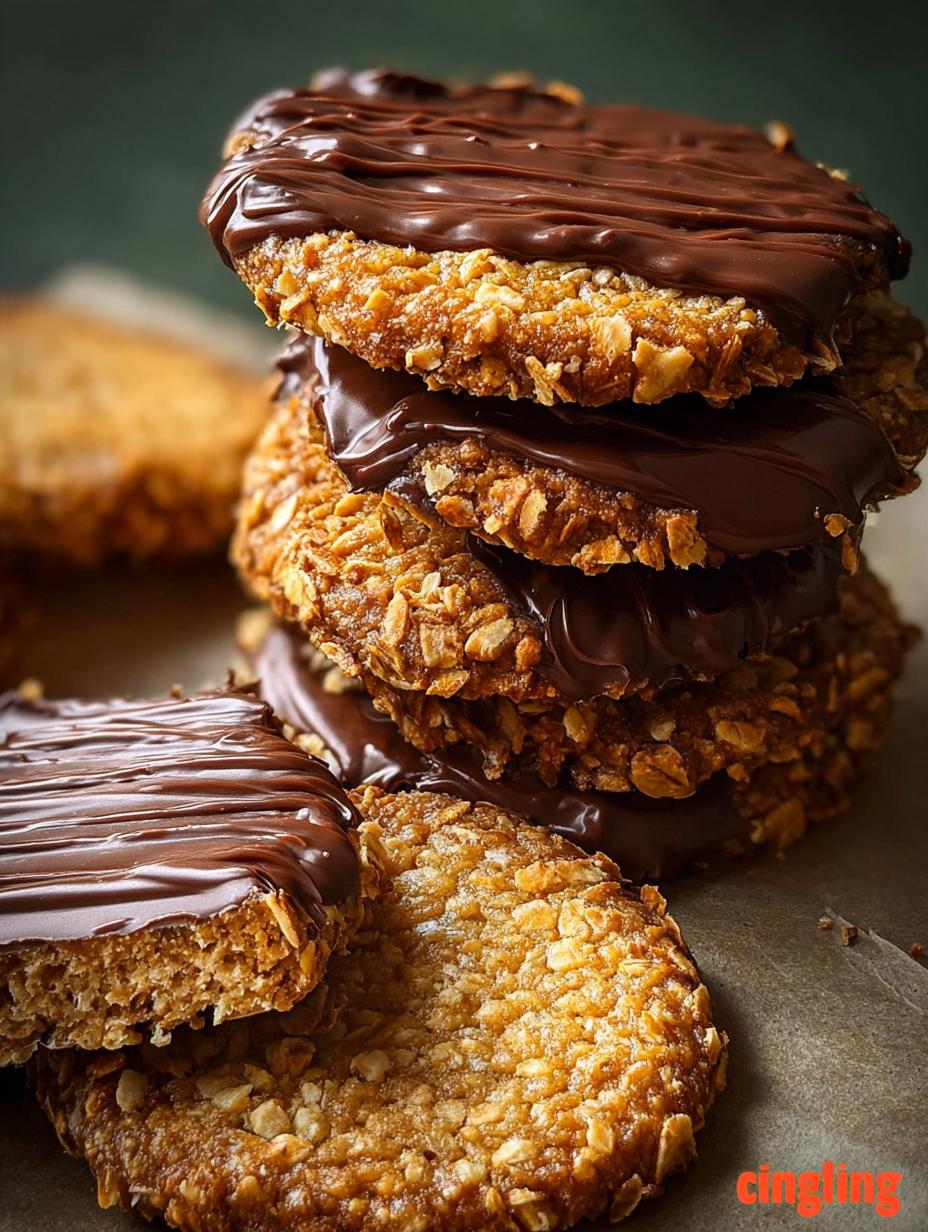
Chocolate Hobnobs have always held a special place in my heart, reminding me of cozy afternoons spent with my grandmother. I vividly recall the comforting aroma filling her kitchen as she’d pull a fresh batch from the oven, the rich scent of oats and chocolate dancing in the air. That first bite of a warm, crumbly biscuit with its smooth chocolate cap was pure bliss. I’ve discovered that making my own Chocolate Hobnobs recipe at home brings that same joy and a superior taste to any store-bought version. This easy DIY chocolate Hobnobs tutorial will guide you to crunchy, chewy perfection. Let’s get cooking!
Why You’ll Love This Chocolate Hobnobs Recipe
I promise you’ll adore making these homemade biscuits for so many reasons:
- Irresistible Taste: You get that perfect balance of chewy oats and rich chocolate, making these Chocolate Hobnobs utterly addictive.
- Quick & Easy Prep: With only 15 minutes of prep, you can whip up a batch of these delightful treats in no time.
- Budget-Friendly: Made with common pantry staples, this easy Chocolate Hobnobs recipe is kind to your wallet.
- Family Favorite: Everyone, from kids to adults, will clamor for these delicious homemade Chocolate Hobnobs.
- Customizable: Easily adapt them to your liking with different types of chocolate or added spices.
- Perfect for Any Occasion: Whether it’s a tea-time snack or a party dessert, these oat biscuits fit right in.
Ingredients for Homemade Chocolate Hobnobs
To make these delightful Homemade Chocolate Hobnobs, you’ll need a few simple pantry staples. I’ve carefully selected these Homemade Chocolate Hobnobs ingredients to ensure the perfect texture and flavor for your oat biscuits.
- 1 cup (225g) unsalted butter, softened – This is crucial for a rich, tender biscuit. Make sure it’s at room temperature for easy creaming.
- 3/4 cup (150g) light brown sugar – Brown sugar adds a lovely caramel note and helps keep the biscuits moist.
- 1 tablespoon golden syrup – This is a secret ingredient for that classic Hobnob chewiness and distinct toffee-like flavor.
- 1 teaspoon vanilla extract – Enhances all the other flavors beautifully.
- 1 1/4 cups (150g) rolled oats – The star of our show! Rolled oats give these biscuits their signature texture. Avoid instant oats for this recipe.
- 1 cup (120g) all-purpose flour – Provides structure to our oat biscuits.
- 1/2 teaspoon baking soda – Helps the biscuits rise slightly and get that perfect crumb.
- 1/4 teaspoon salt – Balances the sweetness and brings out the flavors.
- 7 oz (200g) milk or dark chocolate – For the indulgent topping. Use a good quality bar for the best melt and taste.
- 1 tablespoon coconut oil (optional) – If using chocolate chips, a little coconut oil helps create a smooth, glossy melted chocolate for dipping.
How to Make Chocolate Hobnobs at Home
Making your own batch of these delightful biscuits is surprisingly simple! Just follow these easy Chocolate Hobnobs baking instructions, and you’ll have warm, chocolate-covered oat cookies ready in no time. I find the process quite therapeutic, and the smell that fills my kitchen is just incredible.
- Step 1: First, preheat your oven to 350°F (175°C). Line two large baking sheets with parchment paper; this prevents sticking and makes cleanup a breeze.
- Step 2: In a large mixing bowl, cream together the softened butter and light brown sugar until the mixture is pale and fluffy. I usually beat it for about 2-3 minutes with an electric mixer. Then, mix in the golden syrup and vanilla extract until everything is smooth and well combined.
- Step 3: In a separate medium bowl, whisk together the rolled oats, all-purpose flour, baking soda, and salt. This ensures all the dry ingredients are evenly distributed before adding them to the wet mixture.
- Step 4: Gradually add the dry oat mixture to the wet ingredients, stirring until a thick, cohesive dough forms. Be careful not to overmix at this stage; just combine until no dry streaks remain.
- Step 5: Scoop tablespoon-sized portions of the dough. Roll each portion into a ball, then flatten it slightly with your palm or the back of a spoon. Arrange them on your prepared baking sheets, leaving about 2 inches between each biscuit to allow for a little spread.
- Step 6: For the best texture, I always recommend chilling the cookie dough in the fridge for at least 20 minutes before baking. This helps the Chocolate Hobnobs hold their shape and results in a chewier biscuit.
- Step 7: Bake the biscuits for 12–15 minutes, or until the edges are golden brown and the centers look just set. The aroma filling your kitchen will be heavenly!
- Step 8: Let the freshly baked Chocolate Hobnobs cool on the baking sheets for 5 minutes before carefully transferring them to a wire rack to cool completely. They’ll be delicate when warm.
- Step 9: While the biscuits are cooling, melt your chocolate. You can do this in a microwave in 30-second intervals, stirring between each, or over a double boiler. If using chocolate chips, stir in the optional coconut oil for a smoother consistency.
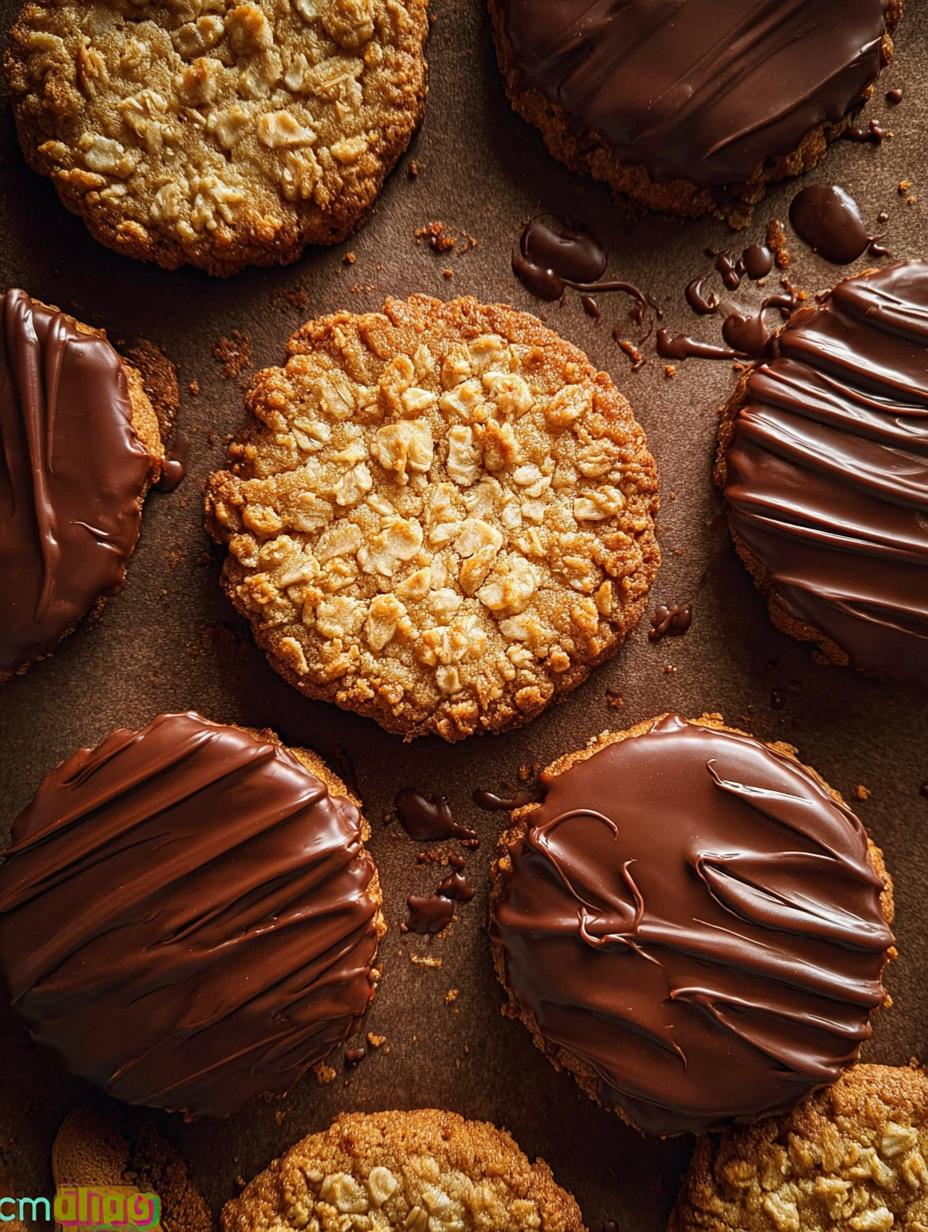
- Step 10: Once the oat biscuits are completely cool, spread a generous spoonful of melted chocolate over the top of each one. You can use the back of a spoon or a small offset spatula. Let the chocolate set at room temperature or pop them in the fridge for a few minutes to speed up the process. These detailed Chocolate Hobnobs baking instructions will help you achieve perfect results.
Pro Tips for the Best Chocolate Hobnobs
I’ve learned a few tricks over the years that truly elevate these biscuits from good to absolutely fantastic. These expert tips will ensure your Chocolate Hobnobs turn out perfectly every single time, giving you that authentic taste and texture you crave.
- Always use good quality rolled oats; quick oats will change the texture significantly.
- Don’t skip the chilling step for the dough; it prevents spreading and ensures a chewier biscuit.
- For an extra layer of flavor, lightly toast your rolled oats in a dry pan before mixing them into the dough.
- Let the biscuits cool completely before adding the chocolate topping to avoid a melty mess.
- If your chocolate is too thick for dipping, a tiny bit of coconut oil will thin it out beautifully.
What’s the secret to perfect Chocolate Hobnobs?
The real secret to the best Chocolate Hobnobs lies in the golden syrup and the balance of oats. Golden syrup provides that unique chewiness and a subtle caramel note that makes them so addictive. Following this Best Chocolate Hobnobs recipe carefully ensures you hit that sweet spot of flavor and texture.
Can I make Chocolate Hobnobs ahead of time?
Absolutely! You can prepare the dough for your Chocolate Hobnobs up to two days in advance and store it, covered, in the refrigerator. Just let it come to room temperature slightly before scooping and baking. This is a fantastic way to get a head start on your baking.
How do I avoid common mistakes with Chocolate Hobnobs?
Overmixing the dough can lead to tough biscuits, so mix until just combined. Also, resist the urge to overbake; they should be golden brown at the edges but still slightly soft in the middle to ensure a chewy texture. Finally, ensure your butter is properly softened, not melted, for the best dough consistency.
Best Ways to Serve Chocolate Hobnobs
Once your irresistible Chocolate Hobnobs are ready, you might wonder how best to enjoy them. I find their rustic charm and indulgent chocolate topping make them incredibly versatile. Here are a few of my favorite ways to serve these delightful treats.
- Classic Tea-Time Treat: My absolute favorite way to enjoy Chocolate Hobnobs is alongside a steaming mug of tea or coffee. The warmth of the drink perfectly complements the biscuit’s chewy texture and rich chocolate. It’s a truly comforting experience.
- Dessert Platter Addition: These biscuits are fantastic on a dessert platter, especially when paired with fresh berries or a scoop of vanilla ice cream. Their unique texture and flavor stand out beautifully. Consider making a batch using our Chocolate oat biscuits recipe for your next gathering!
- Lunchbox Surprise: Pack a couple of these homemade Chocolate Hobnobs in lunchboxes for a sweet and satisfying midday treat. They hold up well and provide a lovely energy boost. Plus, everyone loves a homemade snack!
Nutrition Facts for Chocolate Hobnobs
I know many of you are curious about the nutritional breakdown of these delicious homemade treats. Here are the estimated nutrition facts for one serving of my Chocolate Hobnobs, based on a recipe that yields 20 cookies. It’s always good to know what you’re enjoying!
- Serving Size: 1 cookie
- Calories: 160 kcal
- Protein: 2g
- Fat: 9g
- Saturated Fat: 5g
- Unsaturated Fat: 3g
- Trans Fat: 0g
- Carbohydrates: 18g
- Fiber: 1g
- Sugar: 9g
- Sodium: 60mg
- Cholesterol: 20mg
Nutritional values are estimates and may vary based on specific ingredients used and portion sizes of your homemade Chocolate Hobnobs.
How to Store and Reheat Chocolate Hobnobs
Proper storage is key to keeping your homemade Chocolate Hobnobs fresh and delicious. I always make a big batch, so knowing how to store them correctly is super important. After all, you want to preserve that perfect crunch and chocolatey goodness!
First, ensure your Chocolate Hobnobs have cooled completely before storing. Place them in an airtight container at room temperature. They will stay fresh and perfectly crisp for 3-4 days. If you live in a warmer climate or want to extend their shelf life, you can refrigerate them for up to a week.
For longer-term storage, these biscuits freeze beautifully. Simply place the cooled Chocolate Hobnobs in a single layer on a baking sheet to freeze for about an hour, then transfer them to a freezer-safe bag or container. They will last for up to 3 months. When you’re ready for a treat, you can thaw them at room temperature. If you prefer them warm, a quick 5-minute reheat in a preheated oven at 300°F (150°C) will bring back their freshly baked taste and texture.
Frequently Asked Questions About Chocolate Hobnobs
Can I freeze homemade Chocolate Hobnobs?
Yes, you absolutely can! Once your Chocolate Hobnobs are completely cooled and the chocolate has set, you can freeze them. I usually place them in a single layer on a baking sheet to flash freeze for an hour, then transfer them to a freezer-safe airtight container or bag. They’ll keep well for up to 3 months. Just thaw them at room temperature when you’re ready for a delicious treat.
What is a Hobnob biscuit exactly?
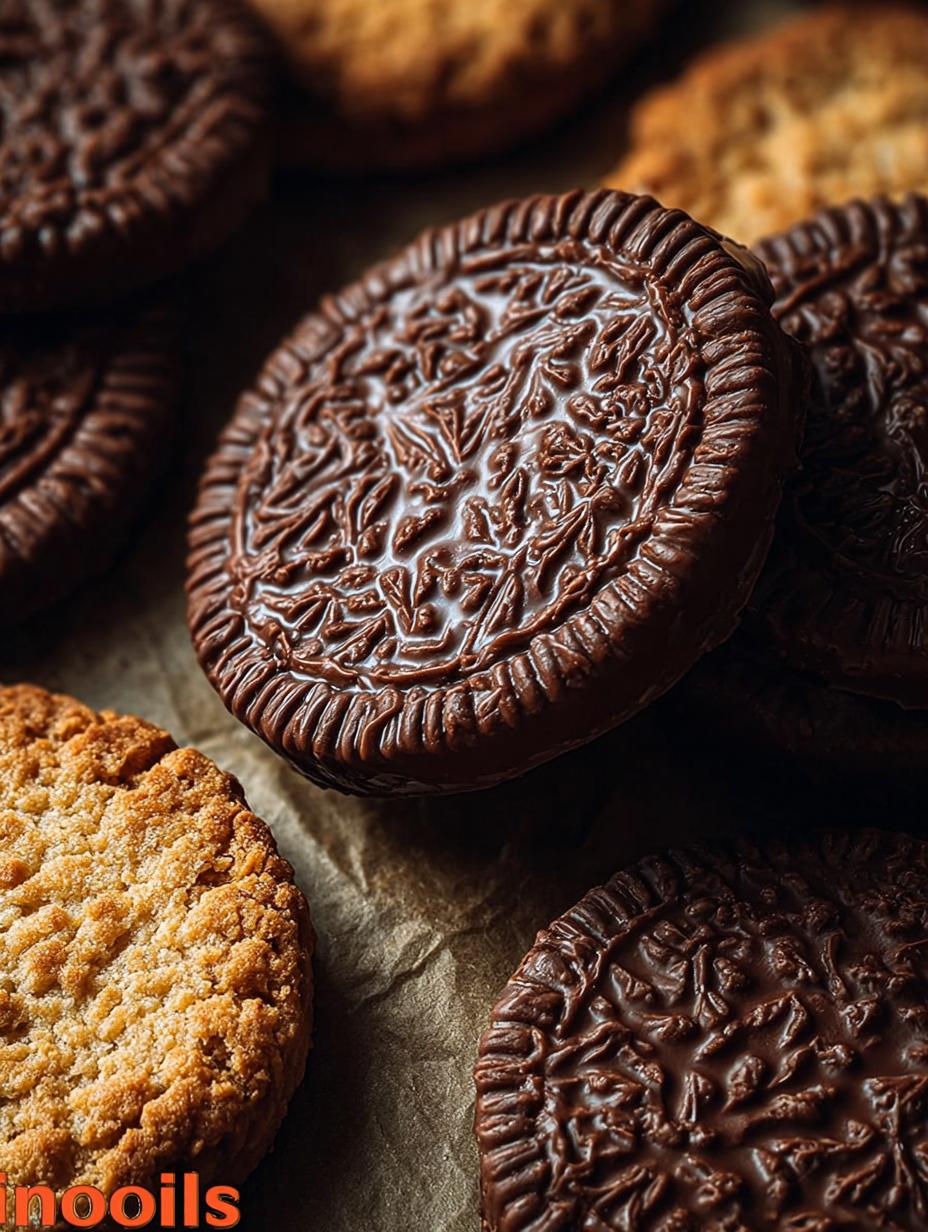
A Hobnob biscuit is a classic British oat biscuit, famous for its rough, oaty texture and often coated in chocolate. It’s known for being incredibly dunkable in tea due to its sturdy structure and delicious, wholesome flavor. My homemade Chocolate Hobnobs capture that authentic, comforting essence perfectly, offering a delightful combination of chewy oats and sweet chocolate.
Can I use different types of chocolate for the topping?
Certainly! While milk chocolate is a popular choice for Chocolate Hobnobs, you can easily use dark chocolate for a richer, less sweet flavor, or even white chocolate for a different aesthetic and taste profile. I’ve experimented with all three, and they each bring something unique to these delightful oat biscuits. Just make sure to use good quality chocolate that melts smoothly.
Are there any gluten-free alternatives for this Chocolate Hobnobs recipe?
Yes, you can adapt this Chocolate Hobnobs recipe to be gluten-free! Simply swap the all-purpose flour for a gluten-free all-purpose flour blend that contains xanthan gum. Additionally, ensure your rolled oats are certified gluten-free, as oats can sometimes be cross-contaminated during processing. This way, you can still enjoy these delicious chocolate oat biscuits without any dietary concerns.
Variations of Chocolate Hobnobs You Can Try
Once you’ve mastered the classic Chocolate Hobnobs, you might be eager to experiment with different flavors or dietary adaptations. I always encourage creativity in the kitchen, and these delicious oat biscuits are incredibly versatile. Here are a few variations I’ve personally enjoyed:
- Vegan Chocolate Hobnobs: Easily make these biscuits vegan by swapping the butter for a plant-based butter alternative and ensuring your chocolate is dairy-free. This Vegan Chocolate Hobnobs recipe is just as delicious and satisfying, offering a delightful treat for everyone.
- Spiced Hobnobs: For a warming twist, try adding 1/2 teaspoon of ground cinnamon or mixed spice to the dry ingredients. It adds a lovely aromatic depth that pairs wonderfully with the oats and chocolate.
- Nut Butter Swirl: After spreading the melted chocolate, drizzle a little melted peanut or almond butter on top and swirl it with a toothpick for a fancy, nutty flavor.
- Gluten-Free Option: If you need a gluten-free alternative, substitute the all-purpose flour with a gluten-free baking blend and ensure your rolled oats are certified gluten-free. You can still enjoy the chewy goodness of these Chocolate Hobnobs!

Chocolate Hobnobs: A 15-Min Marvelous Recipe 😋
- Total Time: 30 minutes
- Yield: 20 cookies 1x
- Diet: Vegetarian
Description
Homemade Chocolate Hobnobs are a classic British treat, combining crumbly, chewy oat biscuits with a smooth chocolate topping. This recipe offers a perfect balance of rustic comfort and indulgent sweetness. These chocolate oat biscuits are crisp at the edges and chewy in the center, ideal with tea or as a snack. They are easy to make with simple ingredients like butter, brown sugar, and oats, topped with milk or dark chocolate.
Ingredients
- 1 cup (225g) unsalted butter, softened
- 3/4 cup (150g) light brown sugar
- 1 tablespoon golden syrup
- 1 teaspoon vanilla extract
- 1 1/4 cups (150g) rolled oats
- 1 cup (120g) all-purpose flour
- 1/2 teaspoon baking soda
- 1/4 teaspoon salt
- 7 oz (200g) milk or dark chocolate (bars or chips)
- 1 tablespoon coconut oil (optional, if melting chocolate chips)
Instructions
- Cream the softened butter and light brown sugar in a mixing bowl until pale and fluffy.
- Mix in the golden syrup and vanilla extract until smooth.
- In a separate bowl, whisk together the rolled oats, all-purpose flour, baking soda, and salt.
- Gradually stir the dry mix into the wet ingredients until a thick dough forms.
- Scoop tablespoon-sized portions, roll into balls, flatten slightly, and place on a parchment-lined baking sheet.
- Chill the cookie dough in the fridge for 20 minutes to reduce spreading.
- Preheat the oven to 175°C (350°F) and bake the cookies for 12–15 minutes until golden at the edges.
- Let cookies cool on the tray for 5 minutes before transferring to a rack.
- Melt the chocolate (and optional coconut oil) in a microwave or double boiler until smooth.
- Spread a spoonful of melted chocolate on each cooled cookie, let it set at room temperature or refrigerate.
Notes
- Toasting the oats before mixing adds an extra layer of nutty flavor.
- Let cookies cool completely before topping with chocolate to avoid a melting mess.
- For a crunchier version, bake 2–3 minutes longer.
- Golden syrup provides a classic Hobnob chew and toffee-like depth. Light corn syrup or honey can be used as substitutes, but the flavor will differ.
- For a vegan option, swap butter for a plant-based alternative and use dairy-free chocolate.
- Avoid overbaking to prevent dry cookies; centers should be just set.
- Chill the dough for 20 minutes to help the chocolate Hobnobs hold their shape and improve texture.
- Use rolled oats for authentic Hobnob texture; quick oats will change the consistency.
- Store in an airtight container to maintain freshness and crunch.
- Prep Time: 15 minutes
- Cook Time: 15 minutes
- Category: Dessert
- Method: Baking
- Cuisine: British
Nutrition
- Serving Size: 1 cookie
- Calories: 160 kcal
- Sugar: 9g
- Sodium: 60mg
- Fat: 9g
- Saturated Fat: 5g
- Unsaturated Fat: 3g
- Trans Fat: 0g
- Carbohydrates: 18g
- Fiber: 1g
- Protein: 2g
- Cholesterol: 20mg